Wednesday, July 24, 2019

Sunbonnet Sue Restoration

I began this project last year. This quilt belongs to my dear niece and she asked if I could try to revive some life into her. It was made, most likely during mid-twentieth century, by ladies in her hometown.


As you can see, she was in great need of repair.


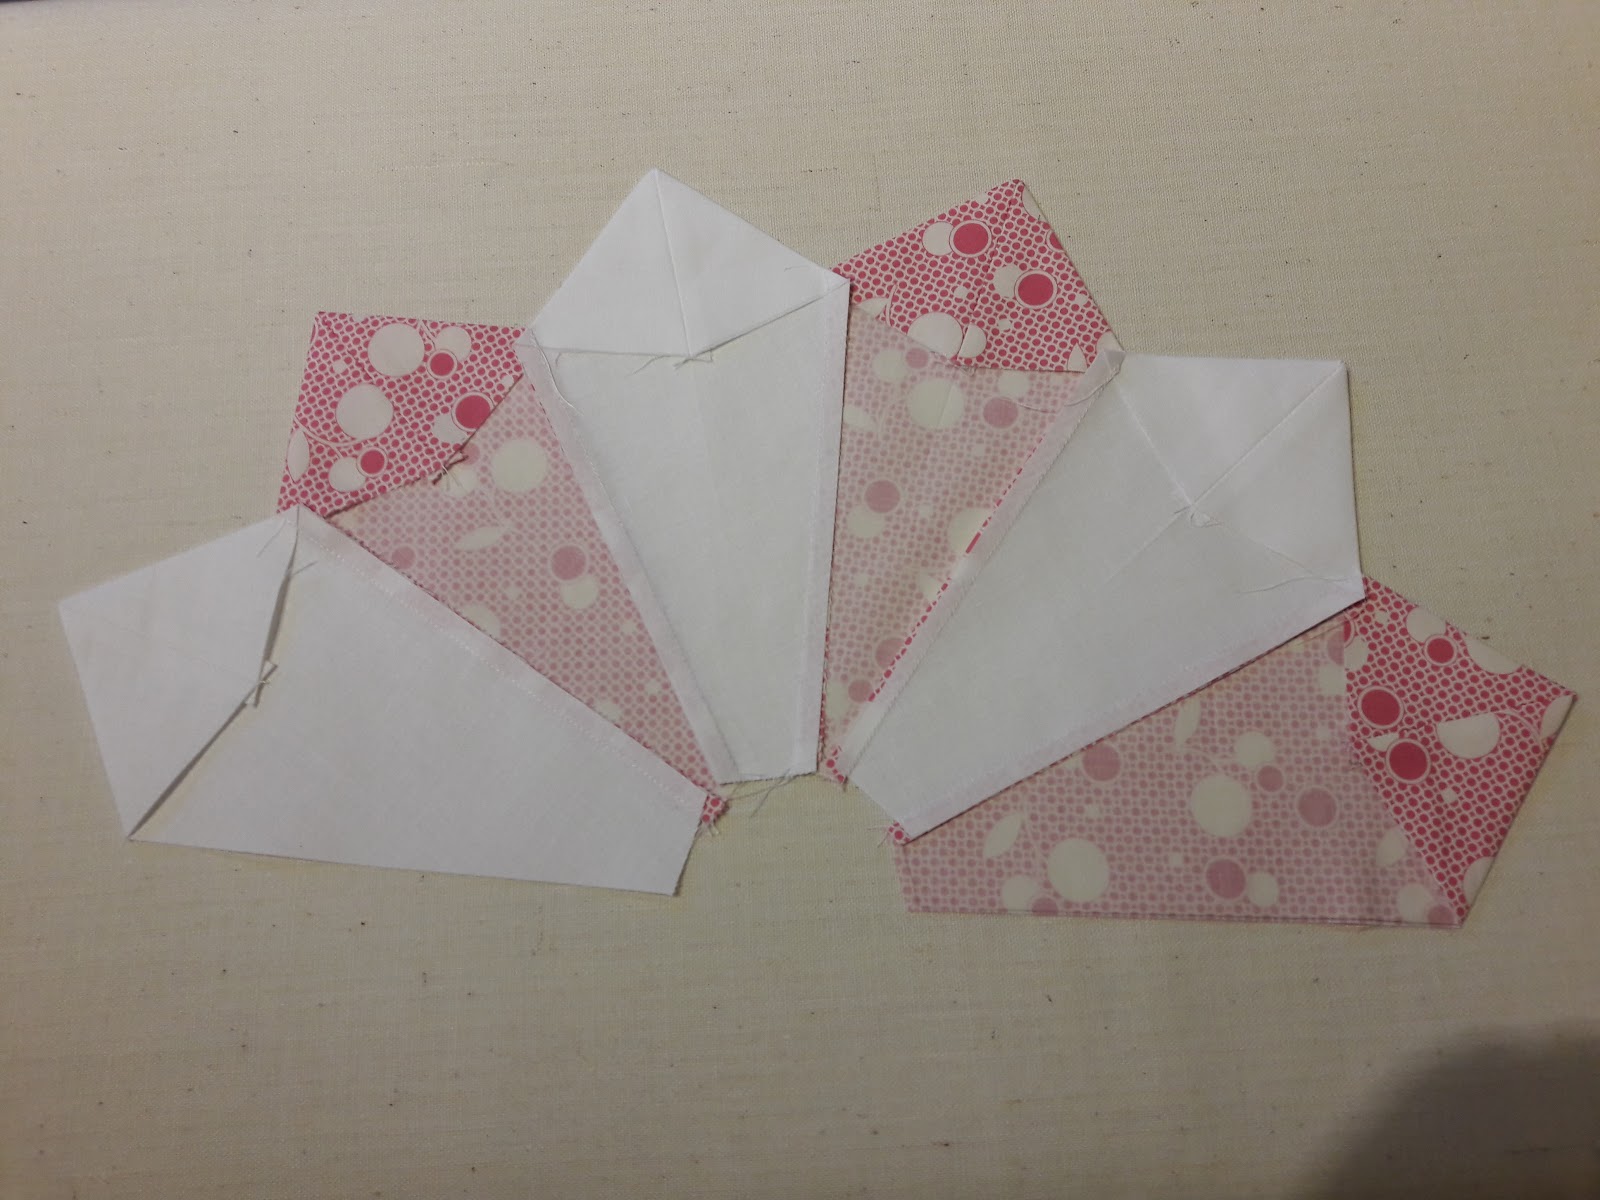
I painstakingly removed the old, frayed pieces and traced with tissue paper the better parts of Sue for making new patterns. Pictured below you can see the worn condition of some of these Sues. (clicking on any picture will enlarge it for better viewing)


And take note of the tiny stitches used to "applique". I have not seen a running stitch as a method of applique before. But it works, and maybe I will try this method in the future on some of my quilts. It is certainly a faster technique than the traditional needle turn method.


After tracing on tissue paper, I carefully glued these tracings onto heavy paper. Once dry, I cut them out to size. Dresses, bonnets, shoes, sleeves and hands were made. When tracing these new pieces onto fabric, I would remember to add seam allowances when cutting them out because these paper patterns were of the exact size. 


More than a few evenings were spent turning under raw edges and basting to prepare for applique. This method works best for me and I also have the benefit of laying them over the originals as a final measure that would ensure I got the size and placement correct.

My main goal was to make my footprint, or should I say, handprint small in working on this quilt. I used 30's era fabrics of the same colors of the original Sues, and only replaced what was absolutely needed to be replaced. Many of the fabrics were beyond hope (frayed, deteriorated, and/or missing).


She had a black embroidered band on her bonnet which I removed from most of the Sues because they were badly worn and frayed. I tried to leave a few that were in the best condition as an example of what was there.   

Total stats were as follows: 

Four Sues were completely replaced. (Bonnet, dress, sleeves, hand and foot)


Seven Sues' dresses were replaced but her shoes, sleeves and bonnets were kept from the original. 


Summarily, out of 20 Sunbonnet Sues, 11 were partially or completely replaced. And now for her new and improved debut...


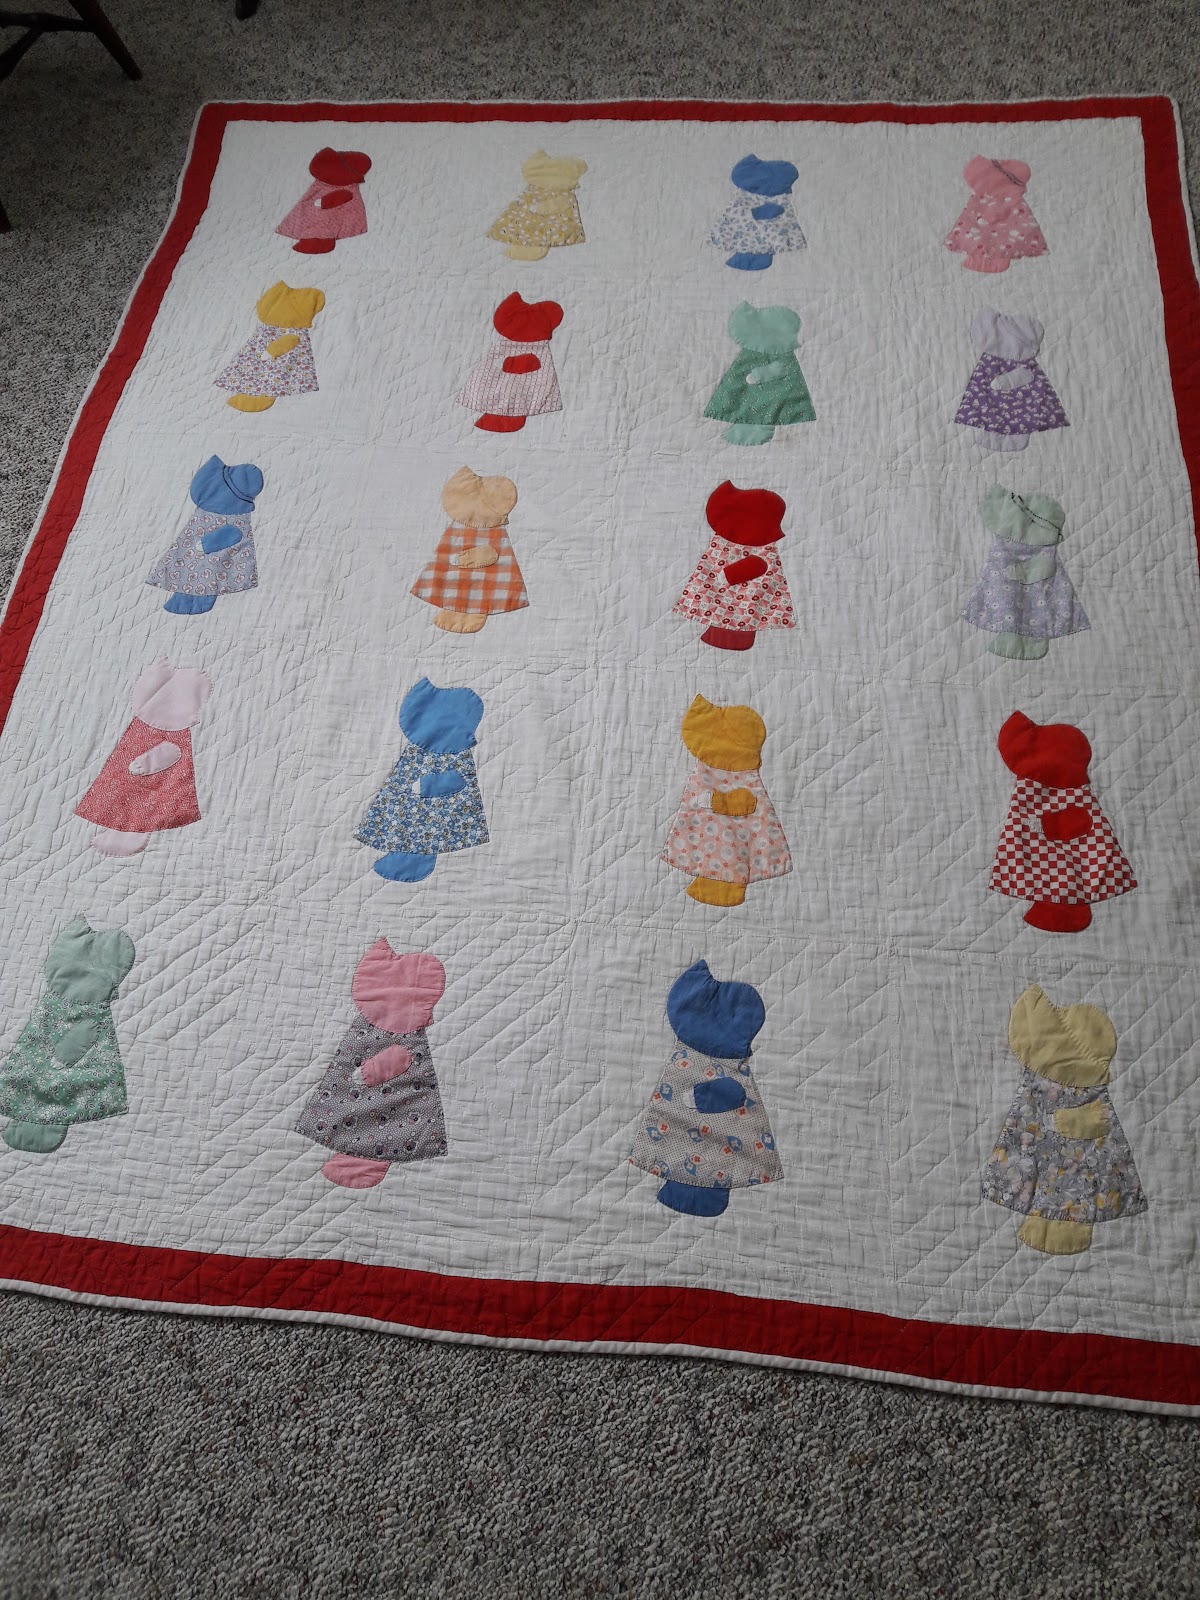
I would never recommend her to be washed or used other than for display purposes. Much of the background fabric is thin and nearly worn through. That repair is beyond my abilities. 


My recordings here are just part of her long history. I hope I have given her many more years of enjoyment. She can be laid out over a spare bed for display. This is the best option as long as she is out of direct sunlight because there is less stress on the fibers. 


And she can be carefully folded at the foot of the bed as display too.


It been a pleasant time restoring this quilt back into some use. Many thoughts and ponderings were entertained as I thought of the ladies who made these charming blocks. Who were they? What were their families like being raised in that small town? What trials were they facing? We can only guess, but I imagine they weren't far from our own daily concerns and worries of today. 


And that is one reason we sew, isn't it? There is a therapeutic effect in the monotony of sewing with needle and thread. Many thoughts and prayers are exercised there.  


Would you like your own copy of this pattern? You can download it here. Please contact me if you do reproduce this quilt with your own creativity and share the results. I would love to hear about how you tackled this pattern and if you had any problems. This is really a simple and fun pattern with so many variations. 

Happy stitches!


Friday, July 12, 2019

3RD Quarter Goals for 2019

2019 is over the halfway mark, summer is in full swing, and I have finishing plans in the sewing room! I hope your enthusiasm is running high and making progress on finishing some old projects...and some new ones too! The following are my top initiatives:

Minecraft Quilt 
This is actually a new project I began this year. It was originally a sew along with Seriously, I think it needs stitches (LOL! LOVE that title!). I currently have 4 blocks completed. The hardest part to this quilt is simply the cutting of various sized pieces (and keeping them straight). Assembling the blocks are very easy and I expect this to go fast. This quarter will be a good time to finish before cooler weather sets in during the coming fall months.


Project Board
Speaking of keeping various pieces together and in order (above) I have all the needed supplies to make a project board that will prove helpful. I am often moving things from the cutting table or the design wall to the sewing machine and it sometimes gets "rearranged". Does this happen to you too?  


Country Bride Quilt
Oh my, this has been on my to-do list for longer than I want to admit. I am excited that I found a dear Amish lady willing to take on this project. The design is so amish and she will make a perfect finish!


Snowballs Quilt
This was last year's sew along I joined with Temecula Quilt Company. (they have some fun quilt alongs if you want to check them out) I have collected numerous 5" charm squares from the last couple of year's Charming Shop Hop Tour. So many varieties of fabrics which will make this a pretty scrappy quilt. I have an idea for the border and then it will be sent to my long arm quilter for finishing.

My finish is here.


Sunbonnet Sue Restoration
I promised my niece I would repair this old quilt she has that was made during the 30's by some family friends. After years of heavy use and washings, it is in serious need of some help. I have a collection of 30's reproduction fabrics from rjr so I've been slowly replacing the worse of the blocks. I hope to have this finished before the family reunion so I can give it back to her for display.


Completed here


Vintage Lace
This is another quilt along I participated in. The top is completed but I need to assemble the backing and batting and get it to my machine quilter. This was a fun pattern and after seeing so many different color variations on instagram, I think I might have to make another!


See my finish here.


Friendship Quilt Blocks
I hope I am happy with my commitment here. I hesitated joining another quilt along because I already have so many things on my to do list. I must make 10 dresden plate quilt blocks of various colors (as requested by each participant). Although this will not be a "finish" by September, the committment for making these blocks will be. And I am anxious to see the blocks I will receive in return. My colors chosen are navy and gray. Once I collect them all I will have to begin thinking of a setting for them.

Note: I did finish all 10 of these but failed to photograph them before our exchange. I will make a post on how I choose the setting and get these blocks put together into a quilt. They are lovely! You can read how I made my dresden blocks here.


These are my top priorities. And if there is time, there are also...

Ringo Lake
The pieces are all ready for assembly. I just need to sit down and sew them all together. I am very anxious to see this completed and  I love the colors chosen. I only need some uninterrupted time to get started!


Patches in Blue
I hope to get this finished soon. Definitely by the next quarter so it is ready for winter snuggles. How I love anything by Edyta Sitar! And she keeps creating more so my list keeps growing!


Sew Many Strips
All the block units are sewn together and I only need to begin assembling the blocks. This is a great project for some mindless sewing time. (Don't you love those?) Another scrappy project...with tiny pieces! I really fell in love with this pattern. So very scrappy. I am no longer in love with the fabrics I have in this quilt. I will be so glad to finish so I don't have to work with them anymore. All remaining remnants from this lot are gone and donated. You know you have clung on to your scraps too long when all your quilts begin looking the same. This is why they are gone and I have begun a fresh, new scrap bin.


Mondo Bag
I need a large bag for the car to store needed items like my umbrella, blanket, flashlight, extra gloves, handiwipes, etc. I have the fabrics picked out. This should be a fairly quick project, right?


__________________________

I have now listed my main focus projects. We will see how productive I can be these next three months. I have learned it is better to list more than you can possibly get done, mostly because I don't always stick to the "short-list" plan. I might even begin something new! I already have an idea planned...

You can list your goals for this next 2019 quarter on the Finish A Long site here. This community of crafters/quilters/needleworkers will motivate and encourage you to work on your own unfinished projects to get them finished! And the best motivation is at the end of the quarter, you link up each successful finish from your original list which in turn becomes an entry into the draw for some fun prizes! How is that for motivation?

So check them out for more information!  And good luck on finishing your projects. I will be visiting some of those links for inspiration and making new friends.


Wednesday, July 3, 2019

Pretty Pouf Can be a Stash Buster Too

I found this free pattern to make this pretty pouf ottoman on the Better Homes and Gardens site here. You can download a copy and make one of these for your home. They are not complicated and they make pretty additional seating or a foot rest. And they have the bonus of being a great stash buster.


Why is it a stash buster, you may ask? Besides using up the 2+ yards of decorator fabric I had stored, I stuffed it with my many scraps and leftovers from previous projects.


Can you see inside there?


Yep! It is stuffed with all those trimmings, thread ends, and narrow batting pieces you would normally throw away. Do you recognize anything from my previous projects in there? I also stuffed it with some small scrap pieces that were old and/or ugly. Sometimes you just have to let go, right? I even heard someone mention on another list that they stuffed theirs with old clothing and rags but I wanted to keep it designated for scraps. It has taken me some time to fill it, but it is getting close to the final closing seams. 


I lined each piece with heavy interfacing and batting to help keep it from becoming lumpy. And did I mention it was heavy? (but not too heavy)

I'll have to cut out another one from my decorator fabric stash and begin filling again. Someone on Santa's list may find it under the tree this year! In the meantime, I can feel good about not adding more trash to our land fills...even if  it is just a little bit from my sewing room!


Buffalo Check is My Favorite

I ordered this fabric for making drapes in the dining room and matching valance in the kitchen months ago at fabric.com. Because I wanted them to hang nicely without puckers (due to iffy tension on my machine) I did all the side hems and bottom hems with a hand slip stitch. They turned out perfectly and I love the finished look! 


I chose a cotton lining also so they look as nice from  outside the window as they do inside. 


And they did not take very long to make - just a few evenings sewing hems and then assembling at the top to make the rod pocket. 

This was a goal to finish this 2nd quarter of 2019 as listed here on my list, and I can not check it off as done!